Email Setting – SendGrid

In the production stage, directly using your own Gmail or another email address may not be appropriate from a security and service credibility point of view. Also, when your service becomes large, your sent-email box can be full of machine-generated emails. There are third-party services that handle the machine-generated emails on behalf of your email server, such as SendGrid, Amazon SES, or Mailtrap. In our case example, we use SendGrid.
There are four key steps for SendGrid setup for Django.
- Sign up on SendGrid
- Create an API Key
- Create a sender
- Install django-sendgrid and update the Django settings
If you don't want to have the SendGrid brand name in the verification email sent by your Django app, you'll need to manage the sender authentication process on top of the four steps above.
Sign up SendGrid
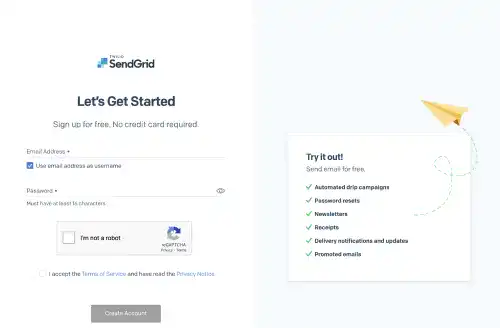
Go to the SendGrid website and click on Start for free.

Type your email and password.

You also need to fill in your full name and some additional information to create an account.
Create an API Key
After you create an account, you need to create an API key that will be used in the Django setting later. Go to the API Key page under Settings in the left menu. Click on the Create API Key button.
Subscribe now for
uninterrupted access.